Wednesday, November 21, 2012

Jamberry Nail Shields Final Analysis

HI all!  Ok, so I am going a little out of my comfort zone here.  I have never used a nail polish strip or anything even remotely like this.  Oh, I've used nail decals, as you well know...but not where I cover the whole nail.  I am what you would call a die-hard polish girl.

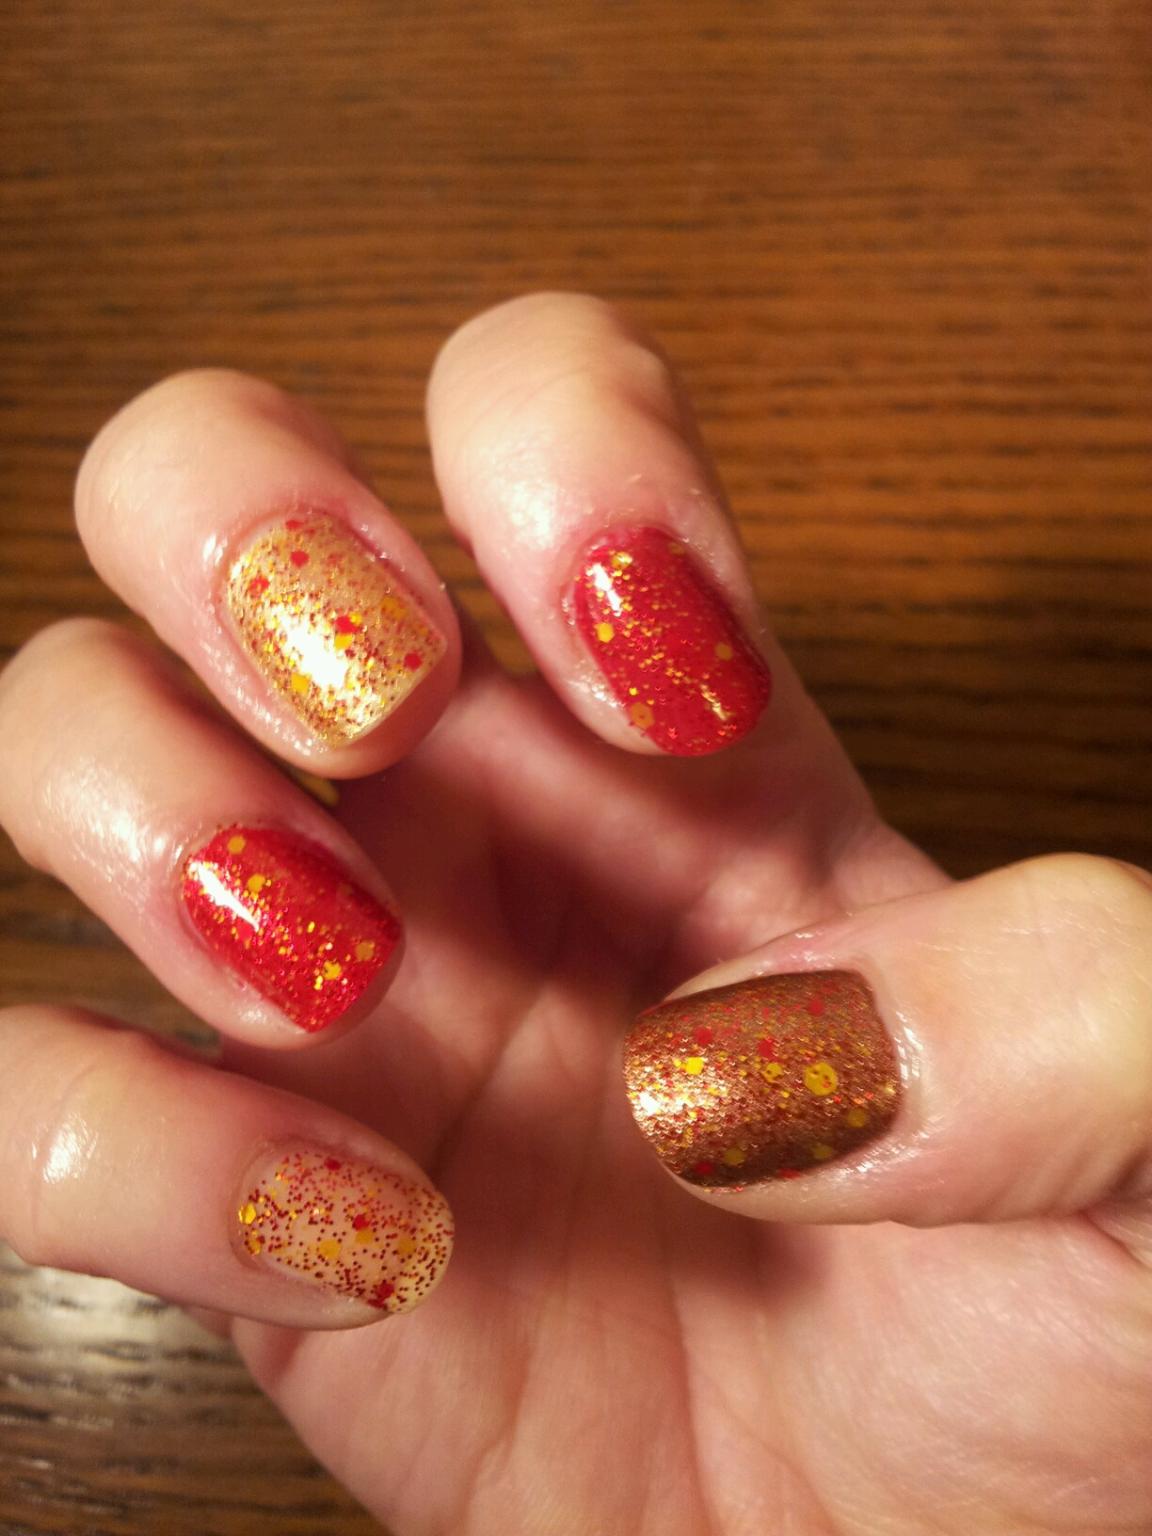
It took me a while before I finally took the plunge.  First, I had to clear my schedule...because I wanted to give these the trial that they deserve...give them a chance to prove themselves with wear and such.  I plan to wear them through Thanksgiving at least, if not longer.

The first thing I noticed is the stiffness of the product.  Thick, heavy for the size.  This could be potentially good, could be potentially bad.  I know that I will have to try these again.  I was awkward doing it the first time and I now know some things that I will be doing differently for my own personal comfort/ease of use.

What you need:
--Nail Shields--enough for all 10 nails if you are doing a full manicure...enough for both hands and feet if you want matching polish.
--Hair Dryer
--Rubber tipped cuticle pusher (the orange sticks *could* tear or scrape the surface up and you will need it to push your cuticles up before application)
--Small scissors or a sharp pair of cuticle nippers/scissors (I used a combo of plain regular scissors and nail clippers...this does NOT work for me--for others it might work fine, I just know what I WON'T use next time)
--Nail polish remover or alcohol
--Nail Buffer
--Emery board or other nail file, what ever it is that you use
--Cotton pads or Cotton balls

HOW TO:
Jamberry Nail Shields are designed to be easily applied in a salon or at home.
Step 1: Clean nails with nail polish remover or alcohol. (Clean, oil free nails are one of the most important steps of the application)  (MY NOTE: Adhesive doesn't stick well to a greasy/oily surface so this step makes complete sense.  Since you don't use a base coat with these, it is even more important.)
Step 2: Cut and file nails to desired length and shape. (MY NOTE: Can be used with any shape nail, but I think it would be easiest on either a square nails or very pointed nails)
Step 3: Buff top of the nail and push back cuticle.
Step 4: Match nail (finger or toe) to the nail shield that best fits.  (MY NOTE: Choosing the right size CAN be deceptive...I had a couple that I over-analyzed it and should have used a larger shield--live and learn...kinda like press-on nails)
Step 5: Peel off nail shield and warm with a blow-dryer 10-15 seconds or until soft and flexible.   (MY NOTE: What it doesn't say here is to warm it on the adhesive side...I didn't do that, so I am guessing that is why I am getting lifting on the edges)
Step 6: When warm, press the shield onto the nail.  Apply firm pressure around edges to adhere the shield to the nail.  Use rubber cuticle pusher to seal the shield around the cuticle.  (MY NOTE: I made the error of not putting it far enough up to my cuticle on a couple of them...but they don't look bad so...)
Step 7:  Trim the top with scissors and file off remaining shield using a downward motion to remove excess.  (MY NOTE: Here I made the error of using a regular sized pair of scissors...I would recommend a small pair of nail scissors=more control.)
Step 8: Apply heat and pressure to the shield again until it is sealed to the nail. (Repeating this step several times helps create a tight seal to the nail surface and increases wear time)    (MY NOTE: I understand that doing this every couple of days extends the wear time...I have noticed if I don't do it, the edges can bubble...which seem to smooth back out again with the heat)
Optional  Step 9: For active users you can add a small amount of nail glue to the free edge to better seal the nail shield. (MY NOTE: I didn't do this, but next time I will...I do have some minor lifting on the tips after 2 days)
How to remove:
There are 2 removal options for Jamberry Nail Shields. For Nail Shields that have been worn for more than 10 days we recommend following the Gentle Removal Process.
Quick Removal Process: Heat the shields with a blowdryer for 15 seconds. Then break the seal by getting under the edge of the shield with your opposite thumb nail. Slowly peel the shield from side to side. If the Nail Shields are not peeling easily or the adhesive is still bonded to the nail bed then follow the Gentle Removal Process.
Gentle Removal Process: Soak the Nail Shields in nail polish remover for 20-30 seconds and gently rub them off. Soaking will break down the adhesive bond and allow them to easily slide of the nail bed.


OK, I was prepared to put these things down.  The jury is still out for me.  I am going to try other brands too so that I have a basis of comparison at a later date.  It wasn't hard...just a learning curve trying to figure out what works best for you regarding application.  I might try it on short nails next time to see how versatile they are.  When I do that, I will post here.

So there you have it.

SUMMARY: Following the directions are not hard.  If you can trim your nails, you can do these.  You do need a hair dryer, so if you don't have one, that would be one expenditure...but the rest of the stuff you should have around the house if you do your own manicures with nail polish regularly.  They are awkward at first, but practice would definitely make it easier.  If you wear acrylic nails, these would be even easier to apply because you could do them before putting the falsies on your fingers.  From what the information says, they work just as well on false nails as on real nails.

Not saying I will become a Jamberry Maven, but I will certainly be trying them again another time.  :D

Thank you to Shelley for the chance to try these.  Shelley has opened up a party just for me!  If you would like to try Jamberry, just go to her link here.  When you are ready to check out, you will be given the option to credit me with the sale.  Just choose Sandra's Online Party, hosted by Sandra Bickel when you get ready to check out (top left corner).


I mean, how cute are some of these!!  I know I will be getting some of these designs...so far these are my favorite.  :D  I really love all of these...so these are my goal sheets.  :D  Help me get them by buying one or more sets of Jamberry Nail sheets.  Shipping is really reasonable and satisfaction is guaranteed.

Now that I've said that...I a still a nail polish lover.  I'm a traditionalist when it comes to my nails.  I will not abandon polish.  However, if I want an easy alternative for say a trip or something...these will be what I reach for, because of the minimal maintenance.

Thank you for reading and thank you again Shelley for sharing this awesome product with me!

That's a wrap people!

UPDATE: November 24th, 2012:

I removed the wraps after 5 days.  IT WAS SOOOO EASY!  No detectable damage to the nail that I could see.  I will be trying these again!  I did get some lifting towards the end, but I am also guessing that for my first attempt, that wasn't too bad of a life for them.  I plan to order some Christmas ones and a Horse set eventually.  :D


Friday, November 16, 2012

Different Dimensions: BOATLOAD O' GLITTER!

OK, so I told Missi that I wanted to try more polish, that I'd blog for her.  I ordered some more of course, because that is just how I roll.

Holy Shiznit!  Ms. Missi, I am floored hon, thank you!  Ok, so here are the first few polishes.  I plan to do a separate set of reviews for each section.  This one is the glitter minis.


There is a LOT of punch for all that these are minis.  O-M-Gosh.


Isn't this a pretty little bunch of glitter goodness??  Sorry, out of necessity, this blog post will probably be image intensive...less spry browsers might take longer to load.  I promise it's worth it, so please be patient.  :D

Ok, so anyway.  I've wheel-swatched them all, as I always do when I bring new polishes into my black ho-er collection...pardon me.  I promise I will have a sale...some day.  There were some terrific surprises in store for me.  My Bear looks fairly quiet in the bottle.  But OMGosh does that change on the swatch.  


LEFT TO RIGHT (both top swatch photo and two close-up, side-by-side photos):
Blue Christmas, Sparkles Like Edward, Social Suicide, Un-Teal We Meet Again, Fall Me Maybe, Bazinga!, and My Bear.

OK, so here is the Roll Call...I will post the actual manicures below the photo of the bottle and my thoughts.


Blue Christmas: Evokes a bit of nostalgia...Elvis anyone?  
http://www.youtube.com/watch?v=WkjxlngfsKA

Her description: a polish I've been looking for for years and finally made myself!
It has a clear base, holographic blue and silver glitter, white, blue and silver holographic hexes.


Oh, my, goodness...truly...goodness...what is there to say?  It goes good over red even...which was my attempted at a red, white and blue mani.  OMG is it hot.  The blue still shows through on the red like a champ.

Pinky: 2 coats without undies
Ring: Orly Decades of Dysfunction

Middle: OPI Suzy Says Feng Shui
Index: OPI DS (cannot remember the name off hand right now)

Thumb: I don't remember which one this is, but I will double check before going live.

Super nice overlay polish.  I think I will go for more layers and do a *just* Blue Christmas mani soon...so gorgeous! 


Un-Teal We Meet Again: Would be great as a Ovarian Cancer Awareness polish...and I have the perfect undie to put under it.  

Her description: a great layering polish, packed with different sizes, shapes and shades of blue/teal glitters!

OK, COULD HAVE SWORN I TOOK PHOTOS OF THIS ONE WHILE I HAD IT ON, BUT CAN'T FIND THEM.  WILL UPDATE AS SOON AS I DO OR RE-DO THE MANI.

Oh Yeah!


Bazinga: Inspired by the show Big Bang Theory.  I've never watched the show, so the reference originally stumped me.  But I have since learned more about it.  Bazinga is more or less his version of AWESOME, or YES!

Observe:

Sheldon: Leonard, you may be right. It appears that Penny secretly wants you in her life in a very intimate and carnal fashion.
Leonard: You really think so?
Sheldon: Of course not. Even in my sleep-deprived state, I've managed to pull off another one of my classic pranks. BAZINGA!


Her description: a yellow jelly base with different sized yellow and red hexes, as well as little red and yellow glitter. 

Oh my stars, yes!  This is quite a stunning polish.  Just enough larger red & yellow hex glitter to tease...mostly fine reds in the background show up when painted on it's own in two coats.  On my real nail swatches, I am going to overlay it on a golden yellow and a red to see what shows up.


OK, undies:
Pinky: 3 coats (no undie)
Ring: NOPI (sorry, can't remember the name right now)
Middle: WnW Deadly Dose (shimmer/metallic polish)
Index: SC Under 18 (super shimmer almost holo polish)

Thumb: Julep Minka (suede polish)

Uh huh.  Nice job, Missi.


Social Suicide: "You can't join Mathletes, it's social suicide!" 
I love the movie Mean Girls.  I watch it every chance I get because I love Lindsay in this movie.  I love the backstory.  It's a modern-day John Hughes movie.  If you haven't seen it, you must.  It's a must-watch girl movie.  Guys kinda look at it and go "Meh, she's hot." and then go back to watching their action movies.  Men.

Her description: Social Suicide is a mix of black and white glitters. It is an amazing layering polish! There are NO BARS in this polish, just different shapes/sizes of black and white!

OK, I COULD HAVE SWORN I TOOK PHOTOS OF THIS POLISH WHILE I HAD IT ON, BUT THE PHOTOS ARE ESCAPING ME SOMEHOW.  HOWEVER, I WANTED TO GET THIS POST UP FOR THE SPARKLES LIKE EDWARD, SO I WILL EDIT WHEN I FIND THEM.


I really love this one as an overlay, as she indicated.  


Fall Me Maybe: Ah ha...her fall polish. A play on the song "Call Me Maybe" wouldn't be too far off.  (I love that song by the way, it's so peppy) 
http://www.youtube.com/watch?v=RWAdb1vgoik

Her description: a great layering polish for fall. It has several different sizes and colors reserved especially for fall! Red, copper and brown are the main colors used in this amazing polish!


Uh huh.  I have lots of fine glitter fall polishes.  This one is different in one very key aspect.  It goes on evenly!  How in the heck did you manage that, Ms. Barry?  Every other single one I've tried have been glumpy, thick, and hard to control.  Now, I expect that of a large-glitter nail polish because, well, that's just how they are.  Maybe it's the base.  Anyway, her's doesn't do that AND it covers completely in two coats on my swatch.  Brilliant!!


ATTENTION!!!!

Sparkles Like Edward: Step beyond the name...my Harry Potter, True Blood and other Vampire-loving mavens...this polish is SO much more than it's name.  Ok, I like Twilight okay.  I am not a "follower" as it were...but I am intrigued by the other films that haven't yet been released to "free" cable movie stations (I don't rent PPV unless I REALLY want to see the movie...and I can wait).  Anyway, before I get too far along, I best tell you about the polish, eh?

Her description: a white jelly duochrome with several different colors of holographic glitters! 


Ok, yes...I can definitely see this in the swatch I made.  Very striking and the name of the polish is very descriptive of the fluorescence that Edward (and all of the vampires in Twilight really) displays so readily in the first two movies.  Ahem...anyway, the holographic glitters add to the shimmery goodness.  I am going to TRY to get that essence to come through in my photo.

If you love this polish...Sparkles Like Edward:
NOTE FROM MISSI: This polish will no longer be available after (11/16/12 - release date of Breaking Dawn part 2) so get it while you can!!


My Bear: This one was the most surprising to me.  I was prepared to be hum-drum about.  Why?  Because is B-r-o-w-n. You rarely find a truly exciting brown.  Well, let me tell you, this is a VERY exciting brown!

Her description: a beautiful chocolate base polish with tons of brown, copper and gold glitter packed inside.

OH my heavens yess!  I surely IS packed with sparkly goodness in the swatch I made.  I was pleasantly surprised at the shimmer that popper up when I got the second coat on.  This is definitely a polish that will make you feel all warm inside just looking at it.


I think this is the best brown I have ever seen.  I didn't even need to layer it.  O.O

Ok, so that's it.  I love these polishes and plan to go back for more!!


Wednesday, November 14, 2012

Paper Heart Productions Nail Polish and Supplies NOW DEFUNCT

**NOW DEFUNCT, FOR ARCHIVE PURPOSES ONLY**

I have had some of you asking who this polish maker is...so I decided to ask her.  :D


OK, so here they are...or at least this is how they came to me.  Such a cute packaging concept. She has several other colors, but these are the ones I picked out.


Ok, left to right: Steelers, Proud As A Peacock, and Plain Jane Peacock.  

I had to wait a while to test these, as I had a HUGE line-up of reviews to do.  So these bottle sat for a bit after I got them.  I didn't notice any settling or separating.  Awesome so far!  What little settling there was was like normal and nothing several shakes and rolls like I normally do that couldn't fix that.


STEELERS:


What she has to say:: She has just a generic description, but here is her link.  This one is a part of a series of football teams.  Steelers and More at Paper Heart Productions


I like this one as an overlay A LOT.  

(Ring Finger: two coats no undie. Pinky Finger: 1 coat over Plain Jane Peacock--almost looked like Pretty As A Peacock, shown below)

A light shimmer base in a golden hue gives a subdued backdrop for the very pronounced black glitter.   Would look most excellent over a holographic color.

xxxxxxxxxxxxxxxxxxx

PRETTY AS A PEACOCK:


Her description:  My new FAVORITE! This beauty was made up of a few mixes of jelly polishes and gold shimmer mica's, with an added twist of black hex glitters. I started out with just the beautiful shade of turquoise/gold base (which can be purchased without glitter, called "Plain Jane Peacock".) Pointer and ring fingers have 2-3 of just this polish using glitters, while the middle finger has 2-3 coats of the original "Plain Jane Peacock" and only one coat of "Proud as a Peacock" on the tip.


I wasn't sure what to think of this one.  I like it, but I don't love it.

(Pretty as A Peacock on thumb)

The black glitter is a little overpowering for me (I know, shocking right?) and I had to move the glitter around on my nail to get more coverage, but this is up to the user more so than the polish problem.  It came out a tiny bit lighter on me than it appeared in the bottle, but this is alright with me, since I like the base.  I think I *might* have liked to have seen her add some holographic blue or purple micro glitter in the base to help get the shimmery peacock effect.  That said, all polish makers have their inspirations for the colors they make and this is her take on a peacock.  


xxxxxxxxxxxxxxxxxxx

PLAIN JANE PEACOCK:


Her description:  This is the glitter-less sister of "Proud as a Peacock". I, personally, like a beautiful plain polish without all the glitter glamour sometimes, but I couldn't choose between with or without so I made this blend with both options. It's a mix of jelly polishes with a touch a gold shimmer mica to it. Comes out as a turquoise base with gold shimmer in the light with only 2-3 coats and goes on so smooth.


Very pretty shimmer, though on me, it came out as more of a limey green with a gold shimmer.  Very nice holographic-vibed polish.  I think this has to be my favorite of the group and I hope she decides to add some "plain" bases like this one to her selection.  I would go for them.  This one went on really nicely, this photo is two coats.

xxxxxxxxxxxxxxxxxxxxx

SO there you have it!  I plan to add more to my blog about her polishes as I try them!


**************************************


GETTING TO KNOW ME!


Shop Name: My shop name is Paper Heart Productions, but it's actually searched for by Paper Heart Nails on Etsy because Productions was already taken. :(


Owner: I am the owner, and my name is Kelley Major.

Websites You Own:
My websites:

etsy.com/shop/paperheartnails
facebook.com/paperheartproduction (no s on production)
- my Instagram is @paperheartnails
- my email is paperheartproductionsinfo@gmail.com

When did you start making polish?
I am only just starting out. I didn't make polish long before I started selling, seeing as most of the supplies you have to buy in bulk to get a reasonable rate, so I knew I'd have to sell to kind of keep up with my hobby. 


When did you first start selling your polish/items:
Tomorrow is actually one month since my first sale! My etsy says I've been open since September 17 though I think. 


Are your polishes 3-free?
All my polishes are 3-free! 

How long do you test your polishes/mixes?
I make my polishes, let them sit overnight to settle, wear them myself for a day, then once satisfied, I put them up for sale. 


What is your inspiration?
I'm a nail polish-aholic, and I'm only working part-time right now, so I figured why not combine my hobby/(obsession lol) into a business and keep me occupied in my down time. 

Chirality Nail Polish, Trio

HI there peeps! I have much joy to spread with the receipt of these polishes. Oh my heavens, is this lady a great Holographic polish maker! 

At first, when I saw that these were all holographic, I was like, meh:


They didn't do much for me on screen. I know, odd, right? Me being a glitter diva, no way! But then I decided, what the heck? Everyone was raving about them, so I thought I'd give them a shot.

When I opened up the bubble wrap...OMGosh!  Then I was like: 


I was dazzled by the colors in the bottles.  I just happened to be opening the packages in a beam of sunlight, so those rays immediately caught the spectrum of the Holographic polish.

I KNEW I had to swatch these as soon as I could, but I had a line up of reviews to do, so I had to wait.  That made me sad:


YAY!  I FINALLY had these next in my lineup and YES!  They are as gorgeous as I could have hoped for.

KATYDID

This is Katydid.  A yummy lime/yellow green that has very abrupt shifts from green to a very bright gold.

Her description: light green holographic polish.

Her Scenario: It's a Saturday night and the clubbers are out in full swing, especially at Club Chirality. Bodies are moving, swinging, and sweating, but all of the men can't keep their eyes off the female siren in the middle of the dance floor. Instead of using an enticing voice though, she uses her powers of stridulation which come from her long, beautiful legs. Once she plays her song of the siren, no man can resist.

Uh huh.  This is a gorgeous color and I REALLY didn't want to take it off, but being a blogger, not many polishes get to stay on more than a day or two, so I got to enjoy it overnight only to be replaced by another Chirality polish.


Cu2+

This is Cu2+.  Yummy.  I like the under-tone of silver in this one.  The color shift on this one isn't as strong as the Katydid, but it still shifts a bit.

Her description: a blue holographic polish.
Her Scenario: A lonely scientist is working to compose the ultimate love potion. While working in her laboratory, a freak accident involving copper, or Cu2+, infuses to our heroine to create an electronically charged Siren. Who says elements from the periodic table can't be beautiful?

My overall impression on this one is that it could overtake my favorite OPI as my Galaxy basecoat.  I must try it once at least to see how it works.


Indoor photo; Outdoor photo

This is Apollonia.  

Her description: A purple Holographic polish.
Her Scenario: Purified in the waters of Lake Minnetonka, Apollonia is the pure definition of sexuality and beauty. She's a no-nonsense kind of girl who will scratch her way to the top to get what she desires. Her voice is strong and can be heard by everyone, even through the rain.

Yes.  I like this polish.  It is kinda dark, but it's PURPLE holographic.  I know that is nothing new. Lots of purples on the market.  This one is special because of the silver and blue shift that it gets when exposed to bright light.  It is not much to look at in just regular indoor lighting, but it's still pretty.


I hope to get some more of her polishes in the future.  Particularly her Red Bloodshot and Darker Green Kale.  

That's it for now!  Thanks for reading!

Polish Hands UP!


Tuesday, November 6, 2012

Pretty And Polished

A call was put out for bloggers to do some reviews on Chelsea Marie's polishes, Pretty And Polished.  I, of course, was in line because I really do like her polishes.

So here is what I purchased:
Pretty As A Peacock
Christmas Wreath
Happy Holodaze mini duo (includes Ruby base polish and Glitter topper)

Without further ado...

Christmas Wreath:  2 coats.


Her description: a reformulated polish from last Christmas that I had made for blogger friends. It has a dark green base and is packed with green shreds, red hexes, and holo golden glitter.

First photo is without topcoat, and to be honest is my favorite way to wear it.  It has texture, which I wasn't sure I liked at first, but it grew on me.  The right photo is with a top coat.  Very thirsty polish, but the wear was good.  I love the little bits of red that pop out of the base.  Lovely.
xxxxxxxxxxxxxxxxxxxxxxxxxxx

Happy Holodaze Ruby and Glitter: first photo-1 coat, right photo-2 coats.


Her description: polish one is is a holographic ruby base, polish two is a green and red glitter topper

Yes, a RED HOLO!  It's pretty.  It was kinda of pink rather than red and it shows in these photos.  With the color of the glitter that goes with it, I expected more of true red.  It works, though...when I added the top coat as you can see below.  She knows what she's doing.  The base as it is makes it so that the red shows up...had the base been darker or a different shade, the red glitter wouldn't have shown.  Nice job!


Really stunning.
xxxxxxxxxxxxxxxxxxxxxxxxxxx

Pretty As A Peacock: 2 coats.


Her description: emerald green base filled with teal, blue, purple, and green glitters

I decided to put undies under this one on a lark.  Thumb: China Glaze Towel Boy Toy (matte), Index: NYC East Village (Holo).  The rest of the fingers have no undies.  This polish also has a texture. I like that. I put on two coats of High Gloss topcoat and it was still a bit textured.  I think this one has to be my favorite of the group.  I love the flecks of turquoise that match the colors that you would expect and the shimmery green body feathers of a male peacock.  I can very much see where she got the name of this polish. 

So there are those polishes.  I will hopefully have some more polishes to review soon.  :D


Different Dimension: Right To Vote 2012

The delightful owner and polish crafter at Different Dimension decided to make us this very patriotic polish.

The catch to get it was: Prove you are registered to vote.  That was it.  So simple.  Then we just paid shipping and materials: $4.00.  FULL-SIZE bottle folks!  Last I had heard, she still has some, so if you love these photos, GO GET IT ASAP!!


Left photo: the bottle with completed, 2 coat manicure.  It's lovely.  Understated, a good glitter to start with for those that really haven't done an Indie glitter polish before.

Right photo: a little closer photo of the whole manicure.


Left photo: Thumb. You can see the white hexes in there.
Right photo: Pinky. Mini red and blue glitters, larger white hexes in a white base.  This is two coats.

It only took two coats for an opaque coverage. These photos are 1 coat of top coat. 2 hours later, this does need another coat of top coat...it is a little rough now.  This is pretty normal.